Connecting dimmer
Assembly instruction: Mounting instruction of a 90x90cm DIY-240W-KIT
Overview Page backward Page forward
working time
10 min.
difficulty
beginner
Steps
6
1 Prepare material
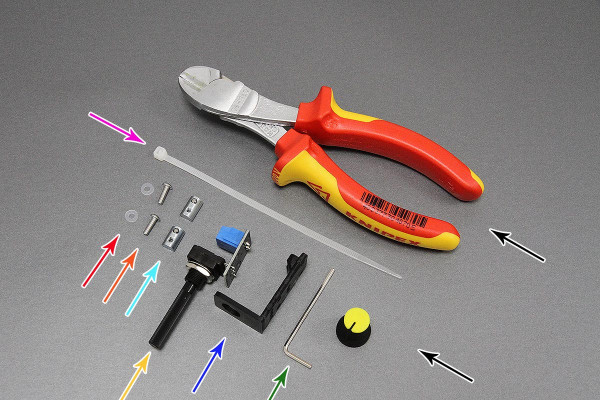
2mm hex screwdriver
2 x plastic flat washer
2 x M3 slot nut
zip tie
dimmer adapter
Rotary knob
Lens head screw M3x10
Dimmer unit
Site cutter
2 Mount dimm unit on the adapter
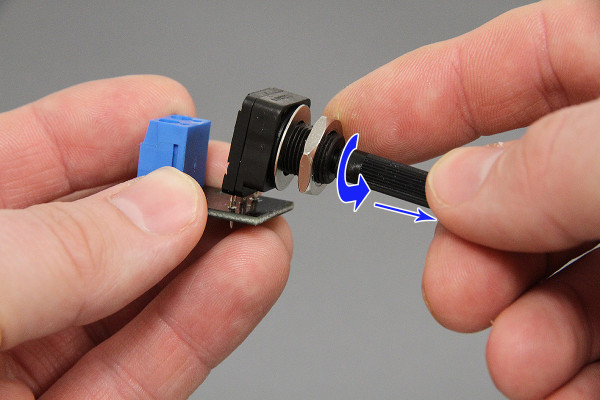
Unscrew the nut from the dimmer unit and remove the flat washer.
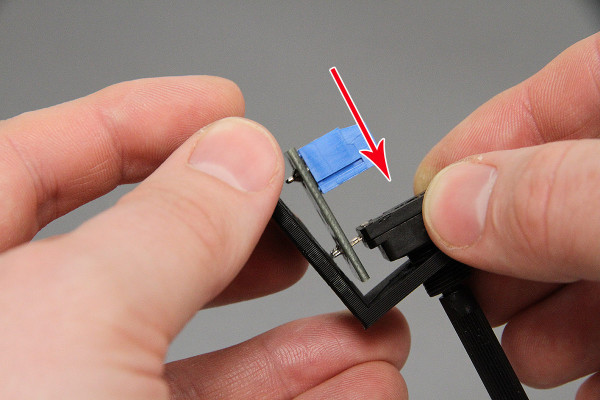
Insert the potentiometer module into the adapter housing.
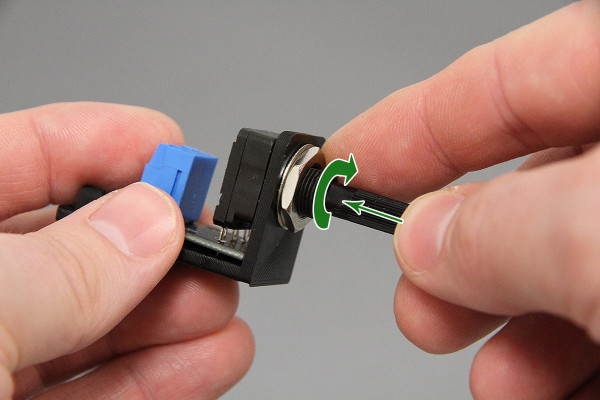
Put on the flat washer again and screw the nut on the dimmer unit.
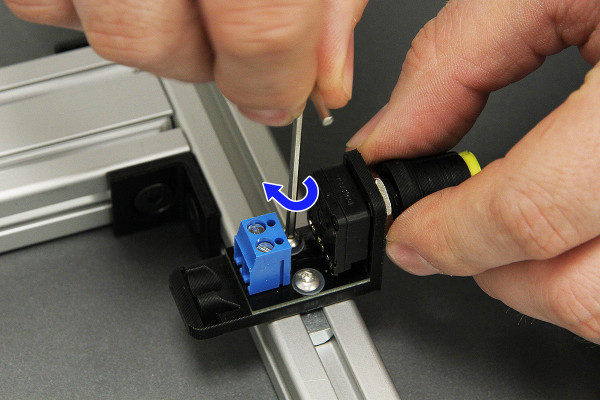
3 Mount knop

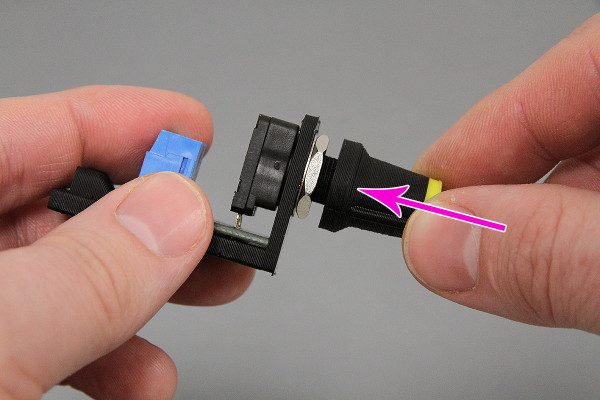
Shorten the potentiometer shaft, with a strong site cutter, to a length of ~ 1cm.
Push the knop on the shaft.
4 Insert slot nuts
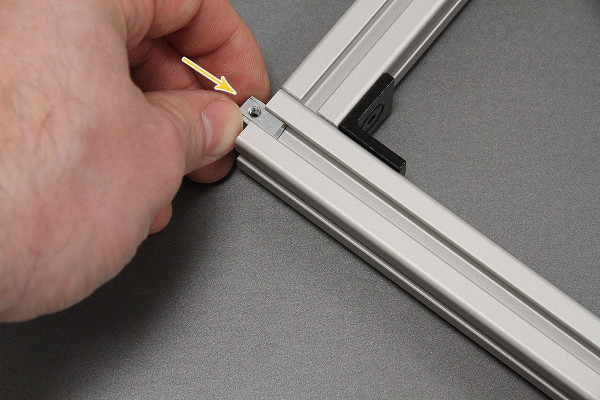

When you insert the slot nuts for the dimmer, please take care of the right positioning.
Position of the slot nuts.
Insert the two M3 slot nuts into to profile from the side. The threads must face each other (see next photo).
Push the slot nuts to the right position.
5 Mount on profile
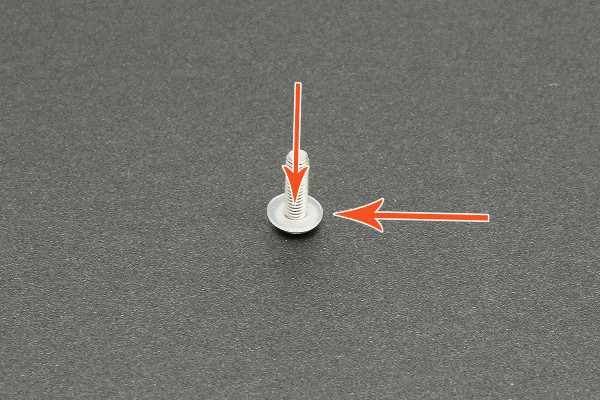
Put the plastic flat washer on both M4x10 lens screws.
Put the dimmer module on the positioned slot nuts and tighten the prepared screws with the hex screwdriver.
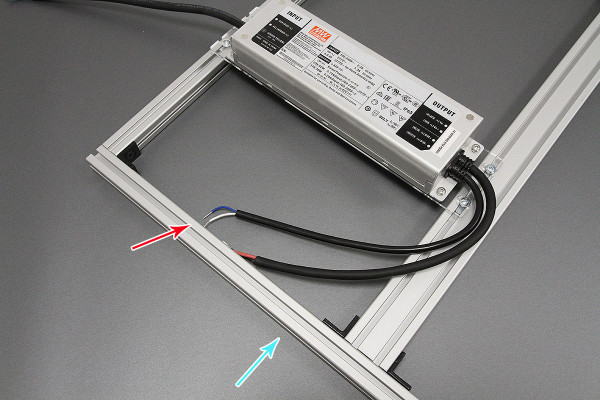
6 Connect dimmer on power suply
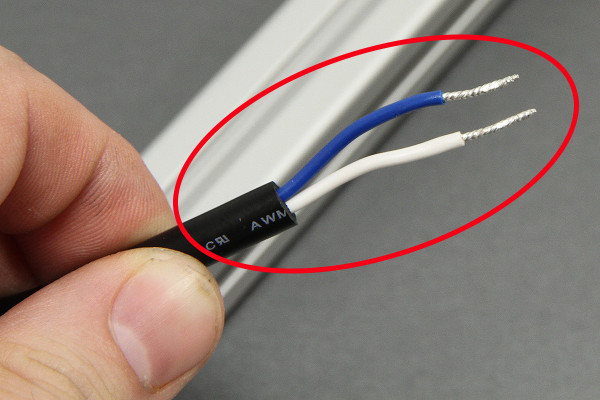
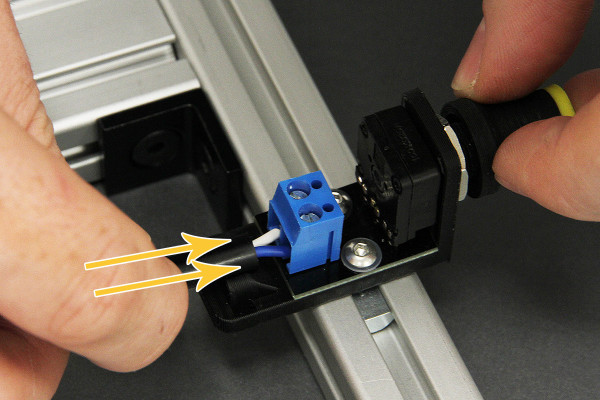
Take the dimmer calbe to shorten it. The dimmer calbe is marked with DIM+ and DIM- on the power supply. In this case we have a blue and a white cable.
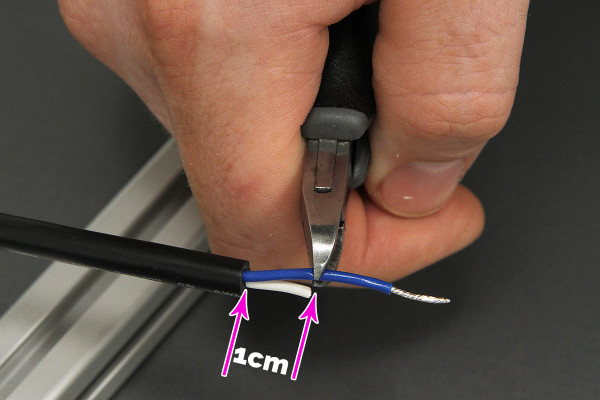
Shorten the cable of a length of 1cm.
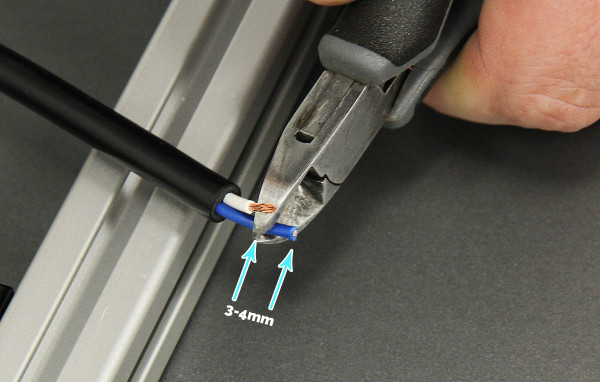
Strip the insulation about 3-4mm.
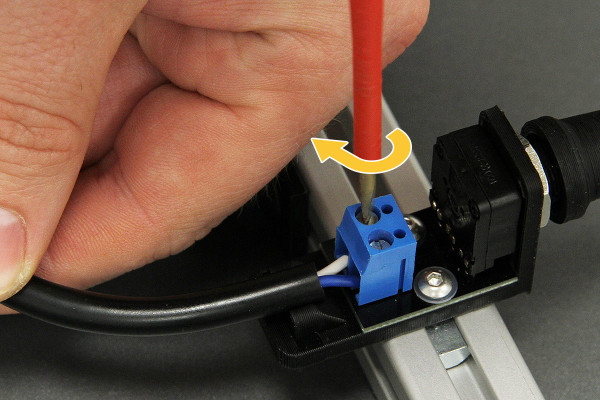
Insert the wire ends into the pcb connector and tighten it up.
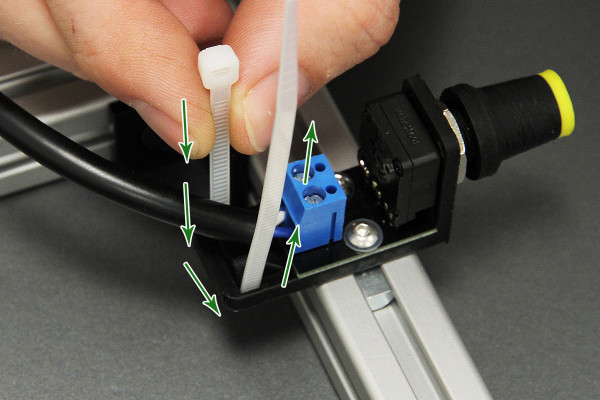
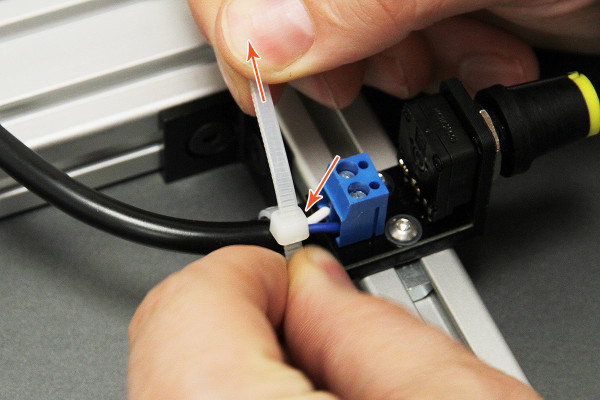
For strain relief insert the zip tie through the holes.
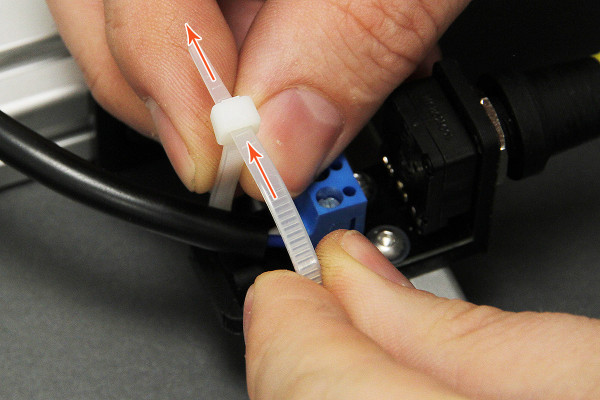
Tighten the zip tie.
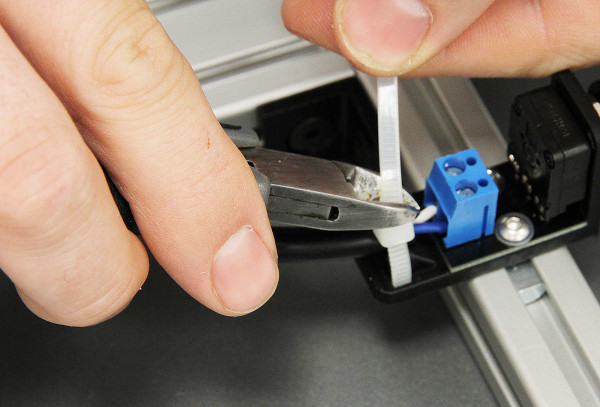
Shorten the zip tie with a site cutter.
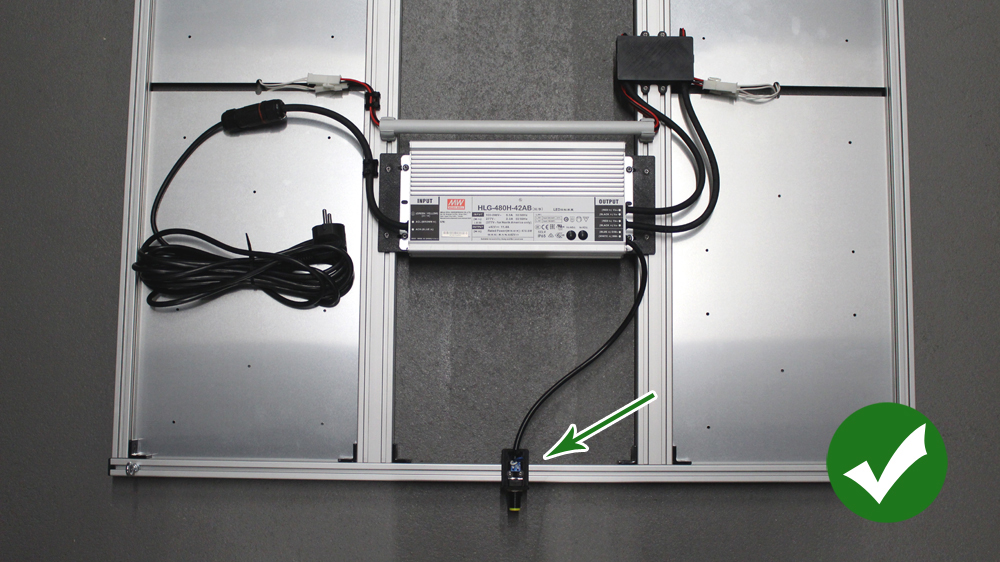
The dimmer is mounted. The result should look like on the photo.
© LED-TECH.DE - Disclaimer: Mounting and operating only by qualified (electric-)staff. We do not assume any liability.